 https://delhigardencenters.com/wp-content/uploads/containercrop3-scaled.jpg
2560
1714
Matt
https://delhigardencenters.com/wp-content/uploads/DelhiFGC-logo.png
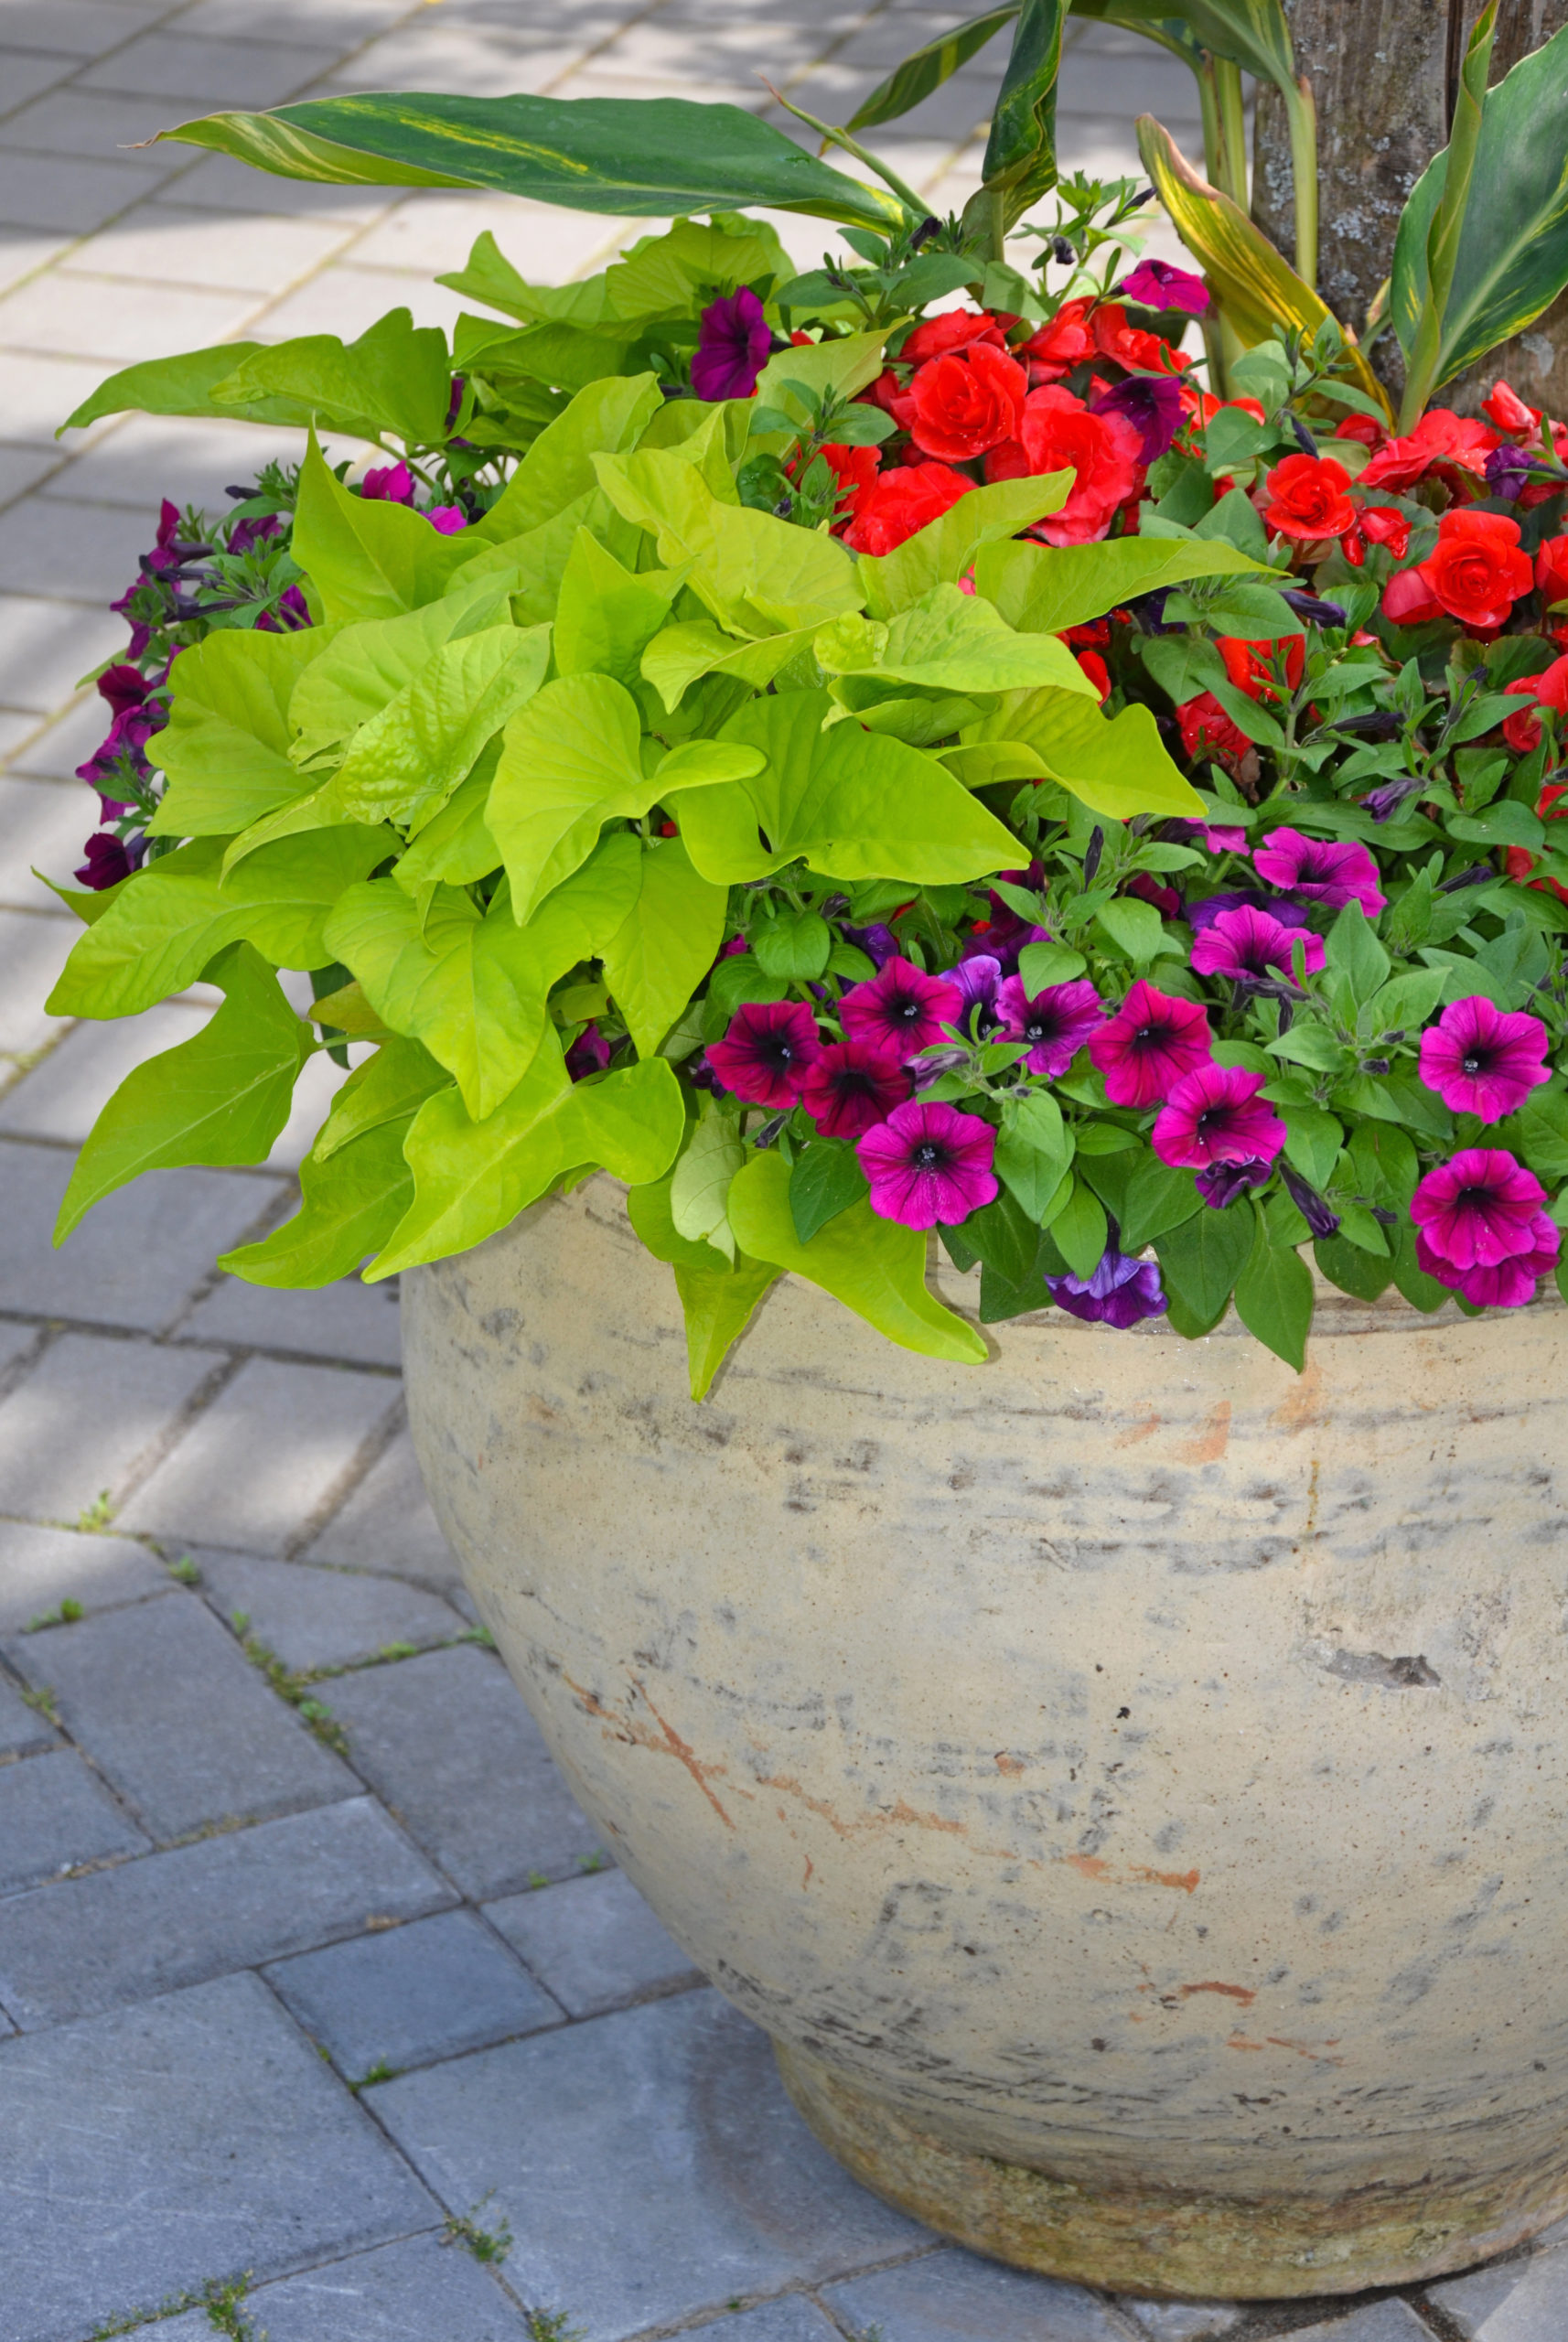
Matt2017-03-20 20:21:412017-09-12 13:43:04Planning & Planting Container Gardens
https://delhigardencenters.com/wp-content/uploads/containercrop3-scaled.jpg
2560
1714
Matt
https://delhigardencenters.com/wp-content/uploads/DelhiFGC-logo.png
Matt2017-03-20 20:21:412017-09-12 13:43:04Planning & Planting Container Gardens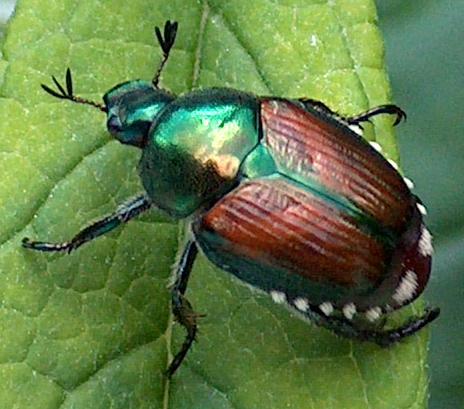 https://delhigardencenters.com/wp-content/uploads/Japanese-Beetle-Picture.jpg
409
464
Matt
https://delhigardencenters.com/wp-content/uploads/DelhiFGC-logo.png
Matt2017-03-19 19:58:432017-03-30 13:16:42Grubbing For The Truth
https://delhigardencenters.com/wp-content/uploads/Japanese-Beetle-Picture.jpg
409
464
Matt
https://delhigardencenters.com/wp-content/uploads/DelhiFGC-logo.png
Matt2017-03-19 19:58:432017-03-30 13:16:42Grubbing For The Truth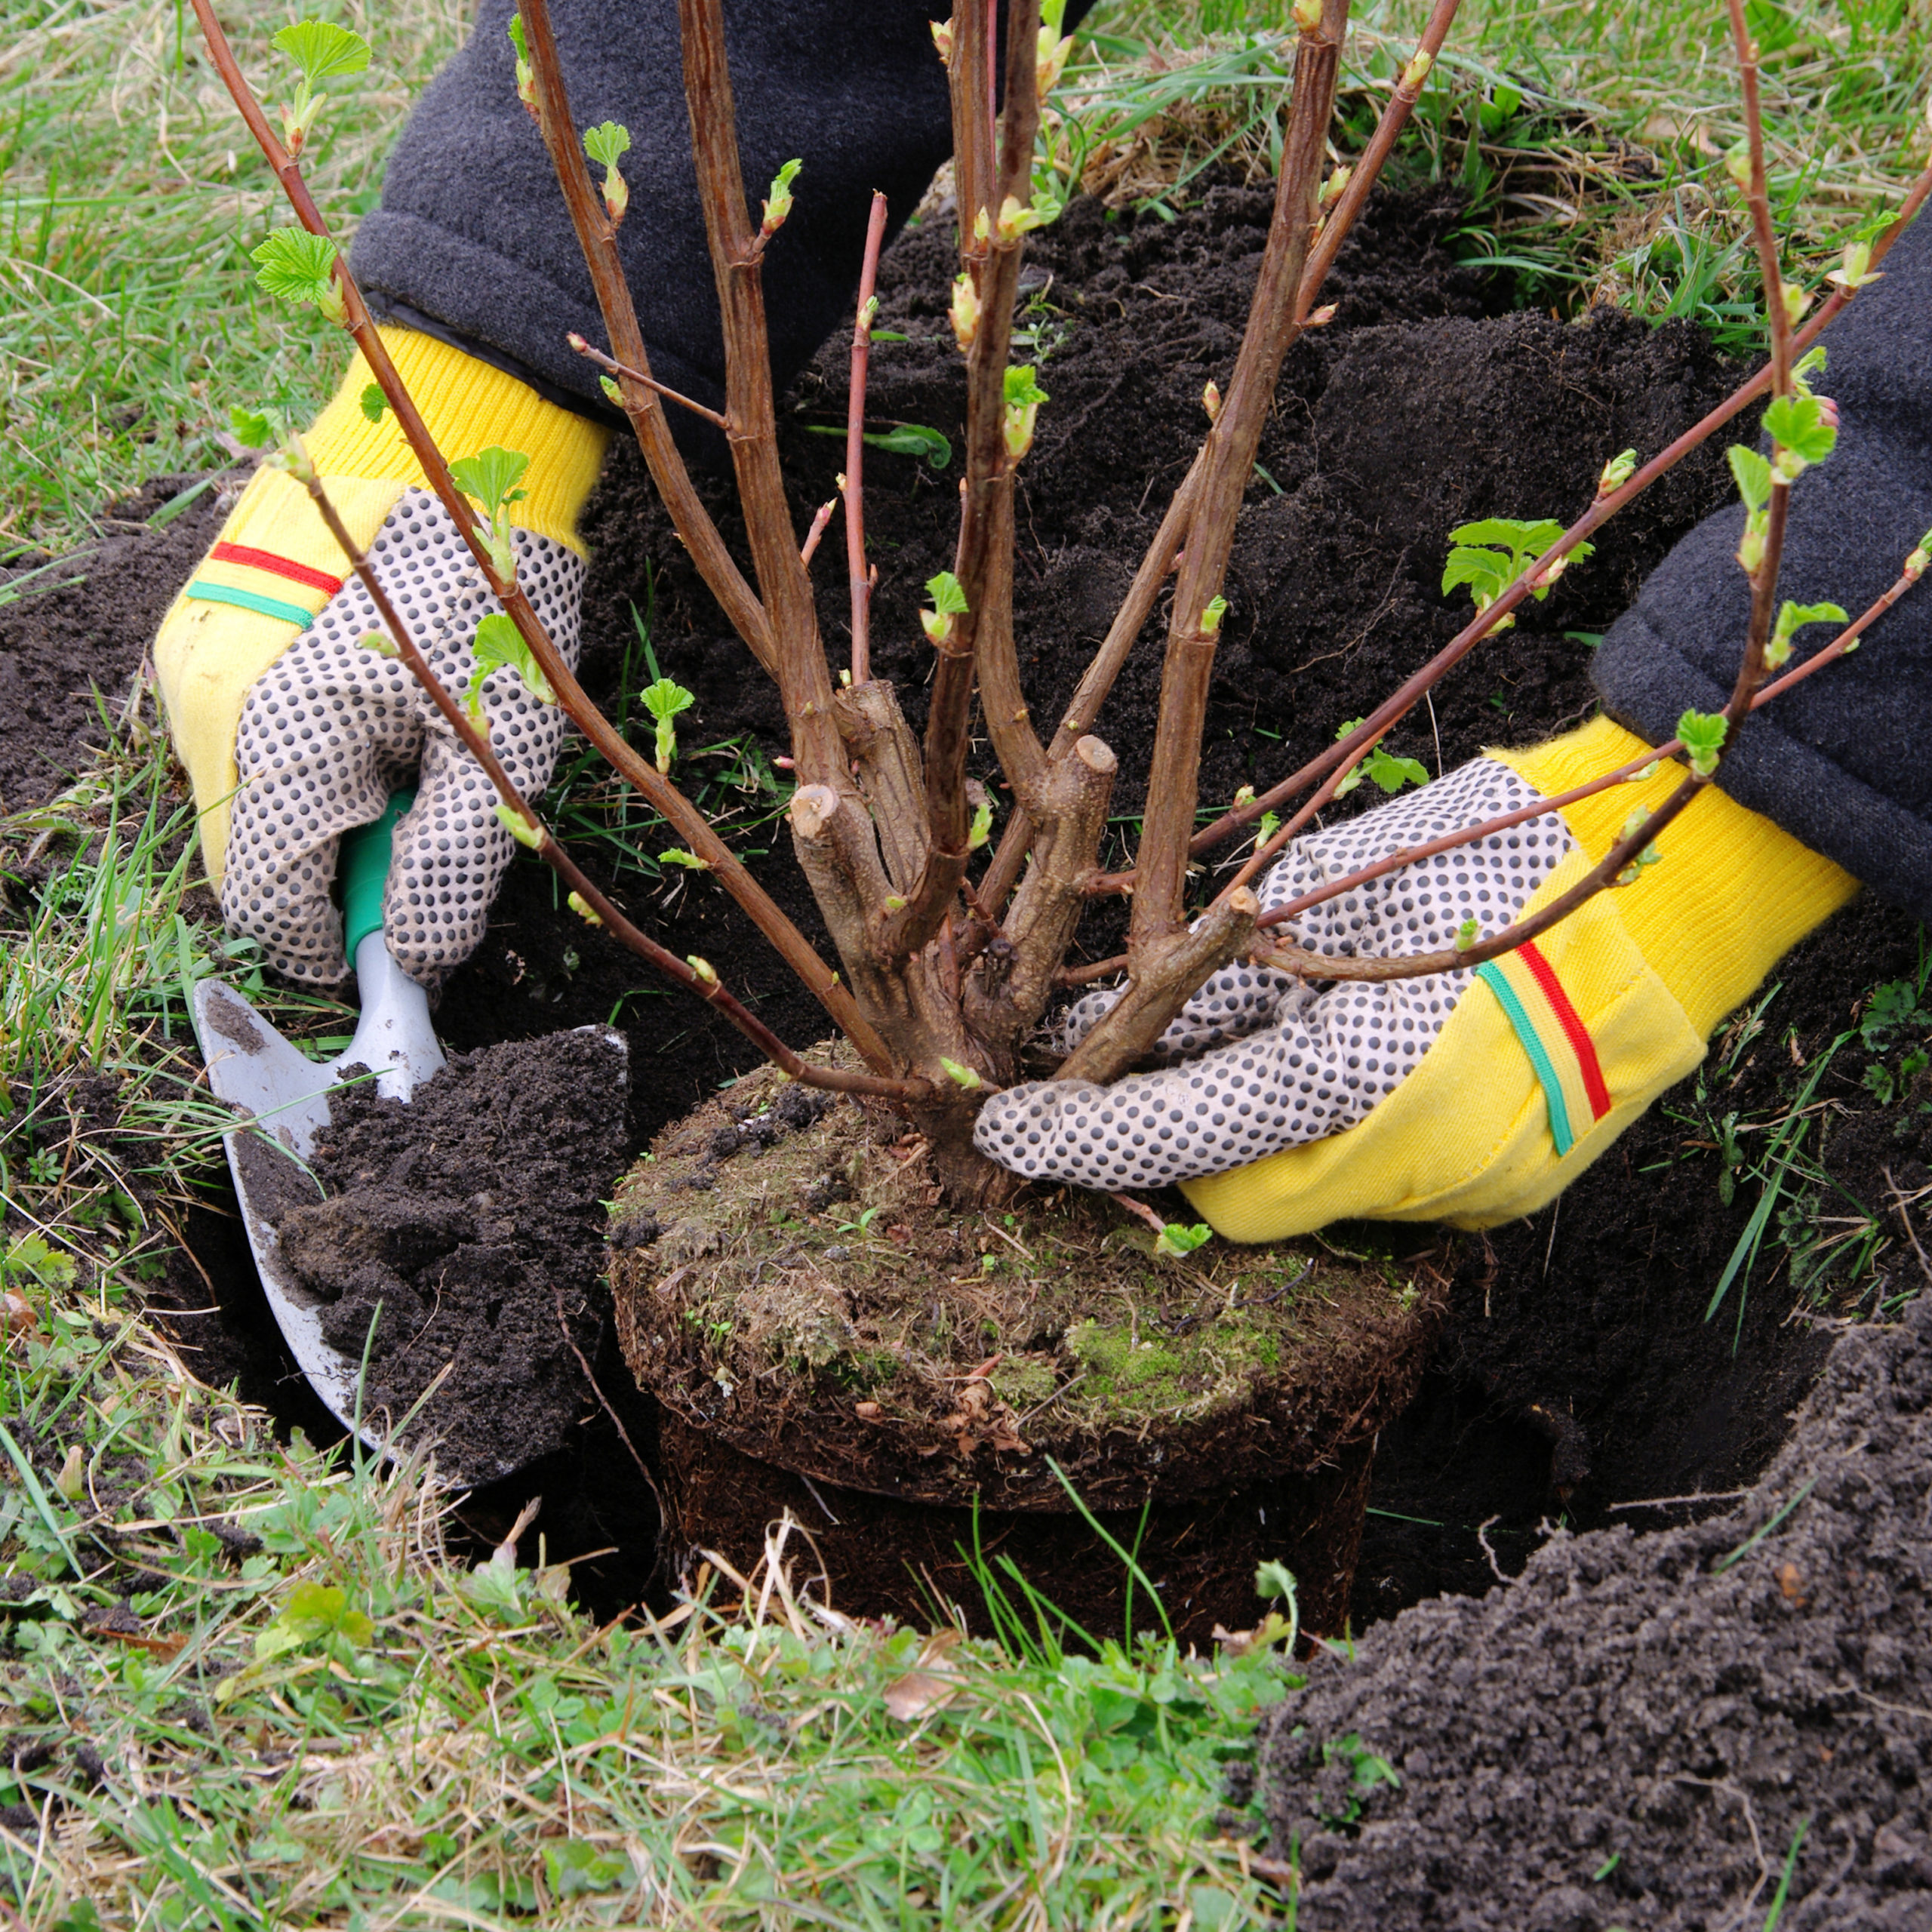 https://delhigardencenters.com/wp-content/uploads/plantingstock-scaled.jpg
2560
2560
Matt
https://delhigardencenters.com/wp-content/uploads/DelhiFGC-logo.png
Matt2016-03-10 20:19:042016-03-11 15:53:06Weekend Warrior Checklist
https://delhigardencenters.com/wp-content/uploads/plantingstock-scaled.jpg
2560
2560
Matt
https://delhigardencenters.com/wp-content/uploads/DelhiFGC-logo.png
Matt2016-03-10 20:19:042016-03-11 15:53:06Weekend Warrior Checklist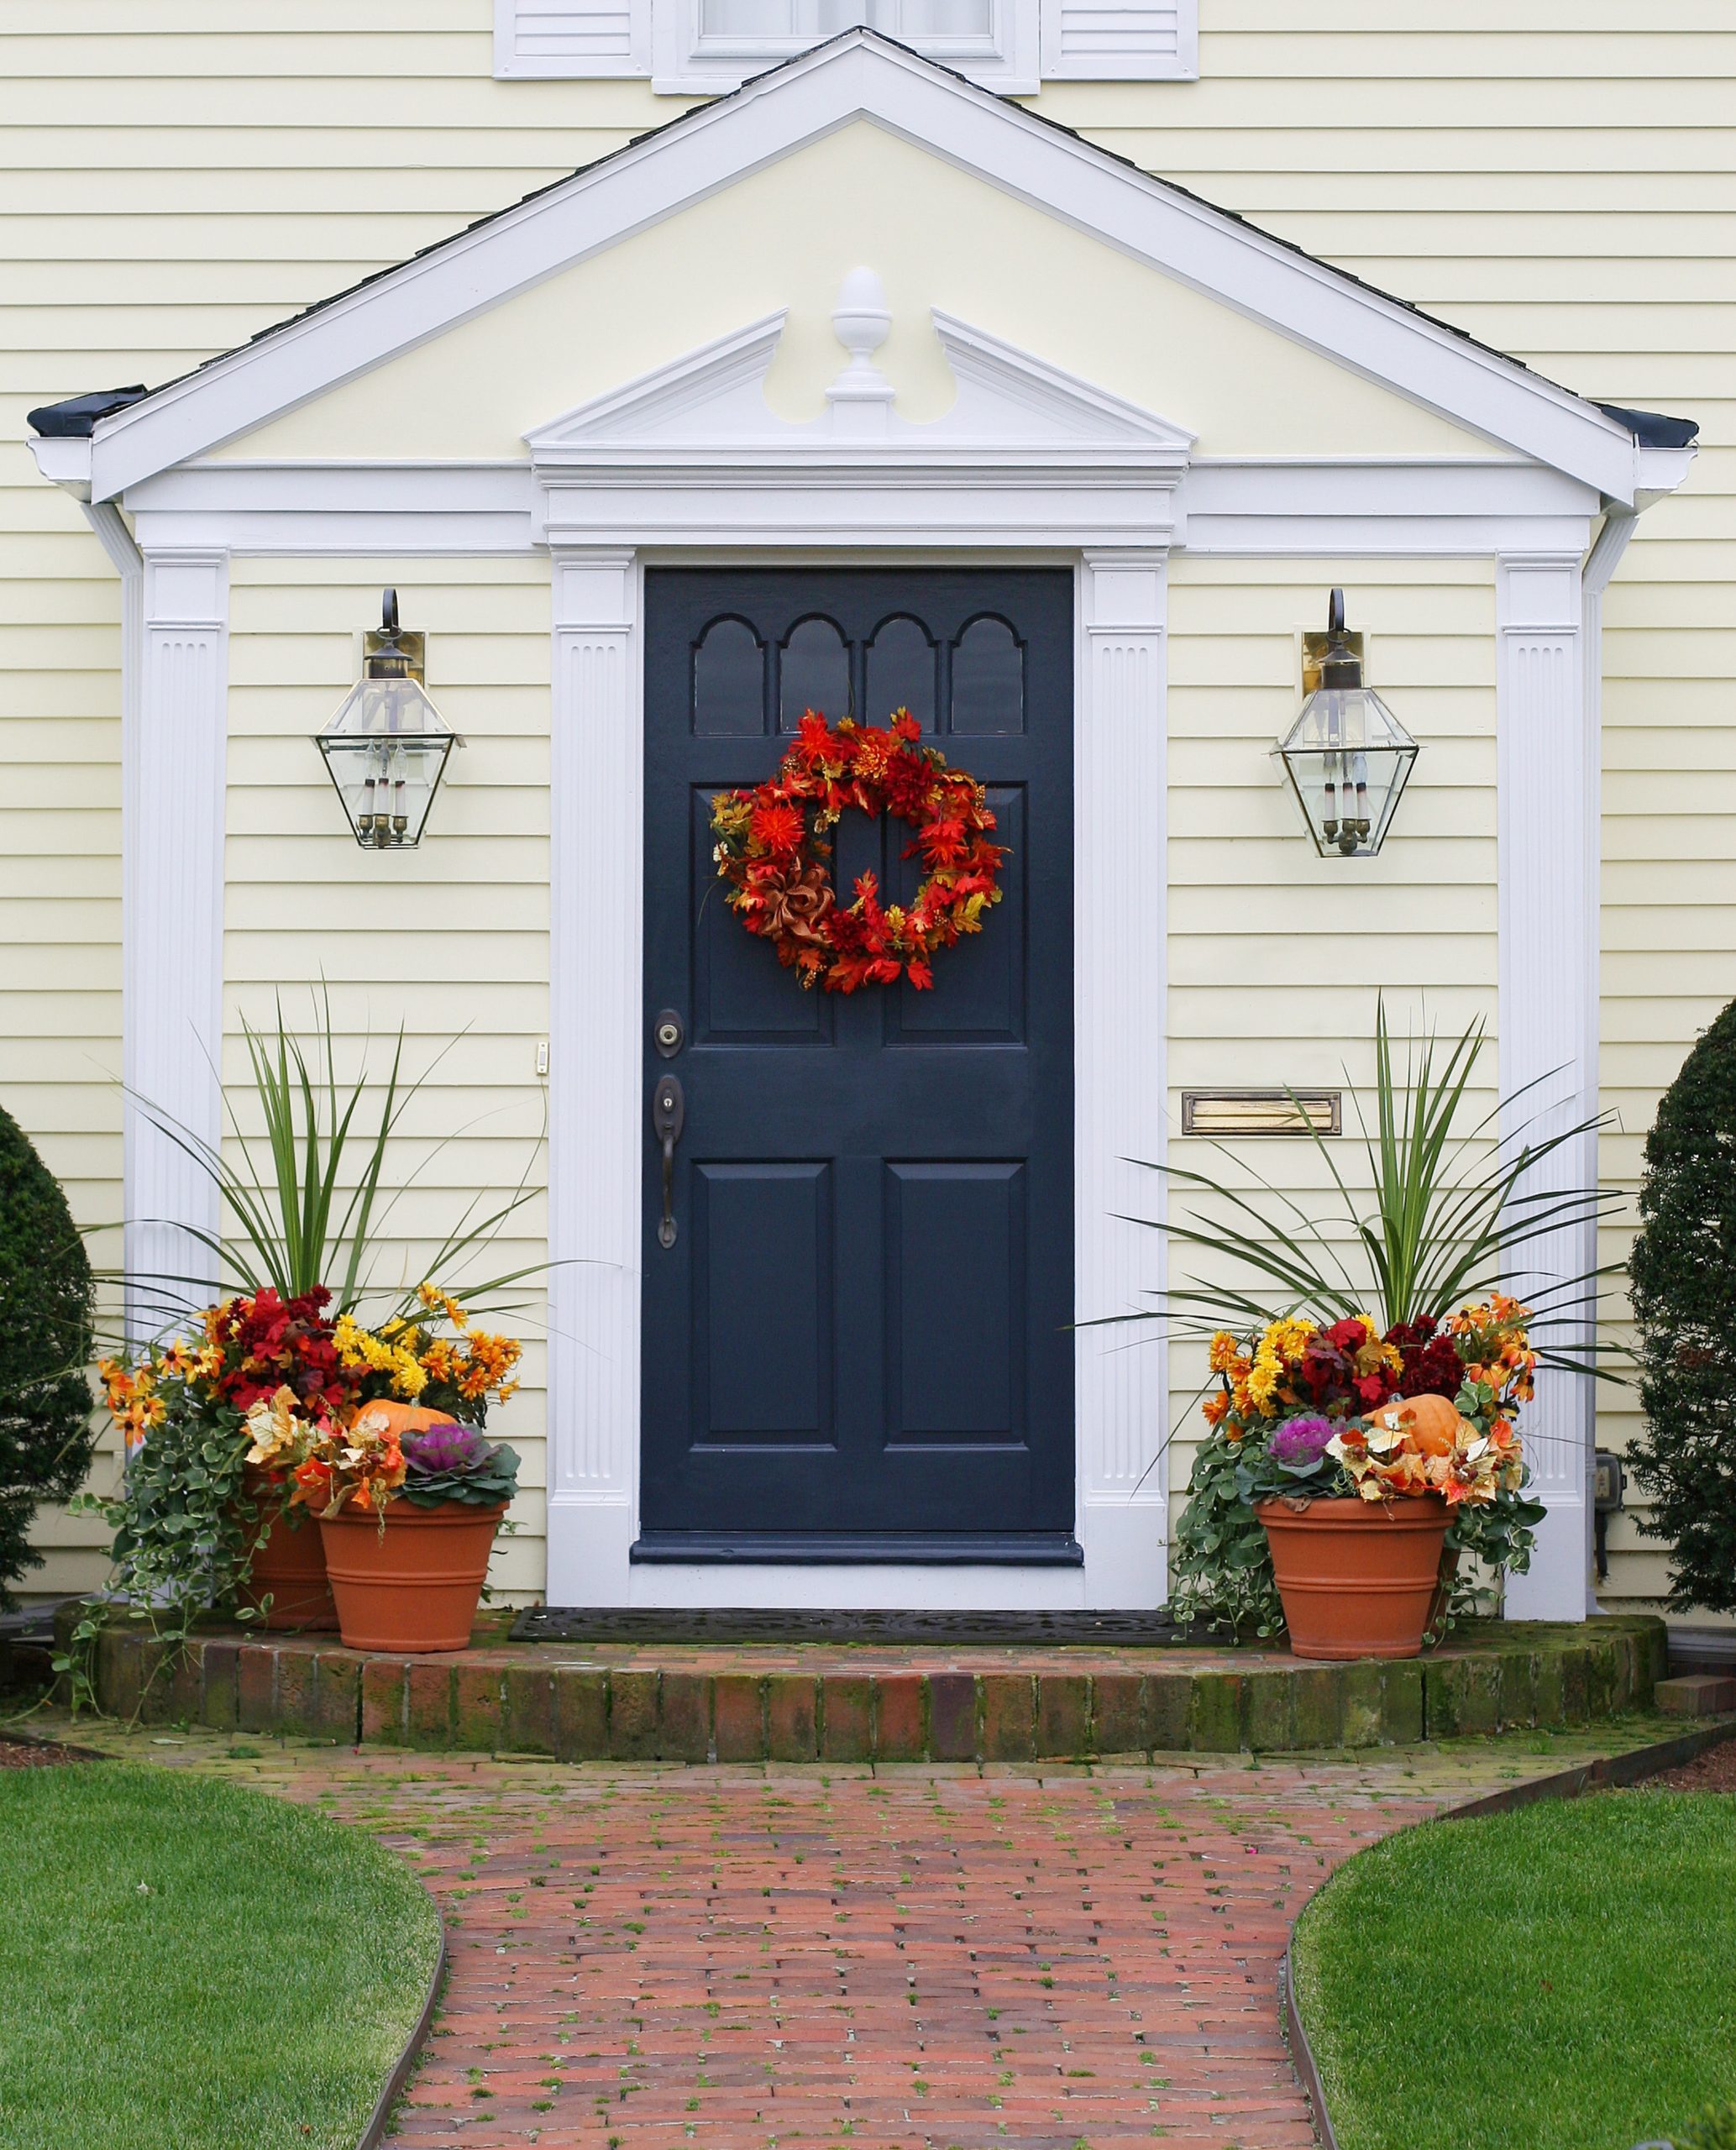 https://delhigardencenters.com/wp-content/uploads/shutterstock_39473614-scaled.jpg
2560
2067
Matt
https://delhigardencenters.com/wp-content/uploads/DelhiFGC-logo.png
Matt2015-08-24 14:34:102017-09-13 14:48:29Fall Container Refresher
https://delhigardencenters.com/wp-content/uploads/shutterstock_39473614-scaled.jpg
2560
2067
Matt
https://delhigardencenters.com/wp-content/uploads/DelhiFGC-logo.png
Matt2015-08-24 14:34:102017-09-13 14:48:29Fall Container Refresher https://delhigardencenters.com/wp-content/uploads/summerparty.png
355
640
Matt
https://delhigardencenters.com/wp-content/uploads/DelhiFGC-logo.png
Matt2015-05-18 20:09:112015-06-03 18:01:0310-Minute Impact for a Summer Party
https://delhigardencenters.com/wp-content/uploads/summerparty.png
355
640
Matt
https://delhigardencenters.com/wp-content/uploads/DelhiFGC-logo.png
Matt2015-05-18 20:09:112015-06-03 18:01:0310-Minute Impact for a Summer Party https://delhigardencenters.com/wp-content/uploads/daylily1502crop.jpg
681
908
springboard
https://delhigardencenters.com/wp-content/uploads/DelhiFGC-logo.png
springboard2015-05-08 12:11:392015-05-08 19:09:14Upgrading Your Daylily Bed
https://delhigardencenters.com/wp-content/uploads/daylily1502crop.jpg
681
908
springboard
https://delhigardencenters.com/wp-content/uploads/DelhiFGC-logo.png
springboard2015-05-08 12:11:392015-05-08 19:09:14Upgrading Your Daylily Bed